From color to Black and White, the first steps

Personally, I take the following four steps for conversion from color to black and white:
- Basic adjustments (this article is dedicated to them)
- The conversion to B&W itself
- Sharpening
- Archiving
What needs to be considered before conversion from color to black and white
Whether you are a beginner or an advanced user, you certainly know what the RAW format is. It contains untouched, “raw” pixel information straight from the digital camera’s sensor. If you want to get a maximum from the photo during the post process, shooting in RAW is a must for you. Use a maximum from your camera and forget about shooting in the JPEG format, unless it is your intention.
I recommend you to keep the original version of each successful photograph on the hard disk, after a year your experience can improve and will be ready to start with some adjustments directly from the first step.
Work with color picture before converting into black and white
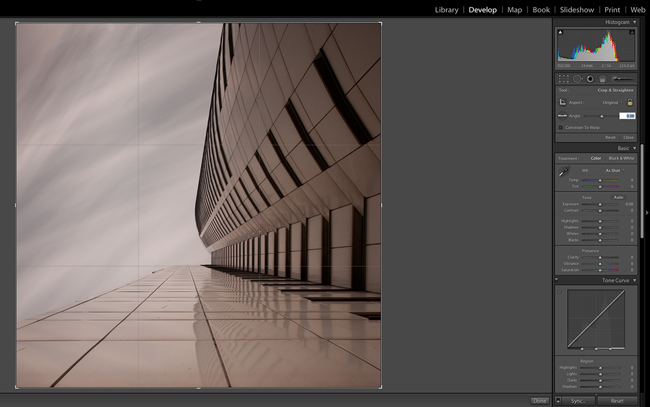
I always do the primary adjustments in Adobe Lightroom. It is important that you do the first adjustments in the original color version, before the conversion into black and white itself. In the first step, crop the picture to the desired format, straighten the lines and apply lens corrections. I would like to mention here, that at this stage we’re still working with the file in its original form the way it came out from the camera. I’m saying this only because if you first export the photogrpah into the Silver Efex Pro 2 program or similar, profile lens corrections in Lightroom will not work anymore and you’ll have to do it all manually.
Give the photograph some depth
The outcome from RAW is just a raw photograph which looks flat and it is necessary to work with it more. Correct the exposure, if there are some underexposed or overexposed parts, increase contrast, clarity, little bit vibration and saturation. Since we’re talking about the conversion into black and white, don’t worry about the color shift due to the 10-stop filter.

Before / after corrections in Lightroom

Remove the background noise from the photograph
I also use Color Efex 4 from Nik Software to increase the tonal contrast. When I find some noise on some parts of the photograph, I remove it with Dfine 2 and I just apply it only to those parts, where the noise appears. I never remove noise from photographs in total, only from those parts where it is needed. Removing the noise from photographs takes away the sharpness. I normally remove the noise only from the sky.
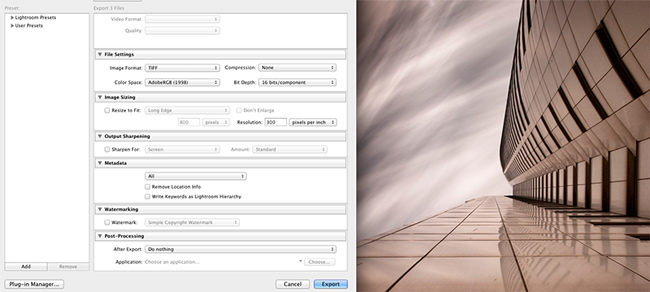
Exporting photograph from Lightroom
After you are done with all the above written adjustments, it is time to export the image. Keep the full size, choose TIFF format, 16 Bit Depth and change resolution to 300 pixels per inch.
In the next step, we will be working with the adjusted photograph in the Nik Software Silver Efex Pro 2 program.
One comment